Make New Crayons From Broken Crayon Bits
A simple, parent-friendly craft that turns broken crayons into brand-new colors. Great for rainy days, classroom prep, and “we have a million crayon crumbs” moments.
Mitzy Tip 💡
Safety Note 🔥
What You’ll Need
Keep it simple. The magic is in the crumbs.
Color Ideas 🎨
Common Oops 😅
Parent Checklist
Use this as your “I’m ready” list before the oven step.
Kid Helper Jobs 👧🧒
Step-by-Step Instructions
Tap each step to expand (works great on mobile, no scripts needed).
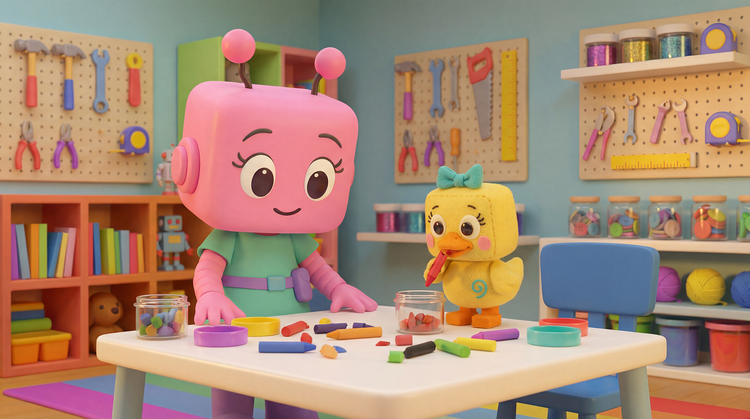
1 Sort & Peel
Sort crayons by color family (or go wild and mix!). Peel off wrappers and break crayons into small bits.
- Smaller pieces melt faster and more evenly.
- Tip: Warm crayons in your hands to loosen wrappers.
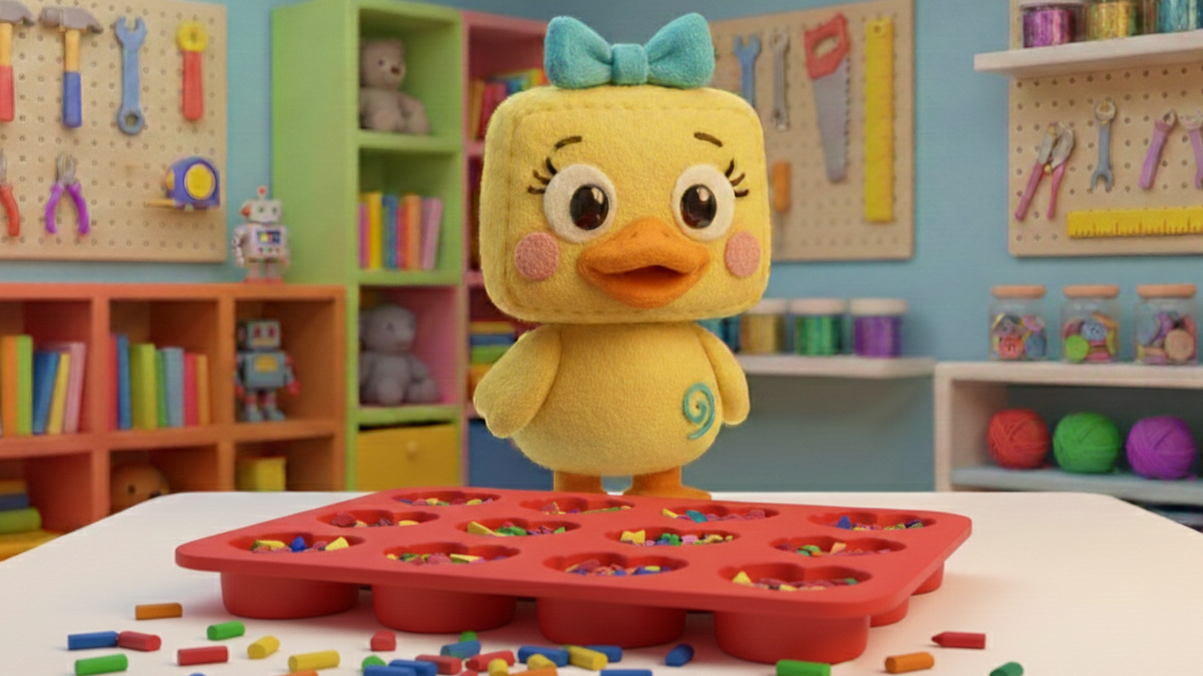
2 Fill the Mold
Place the silicone mold on a baking sheet. Fill each shape with crayon bits and gently press down.
- Pack pieces in to reduce air gaps.
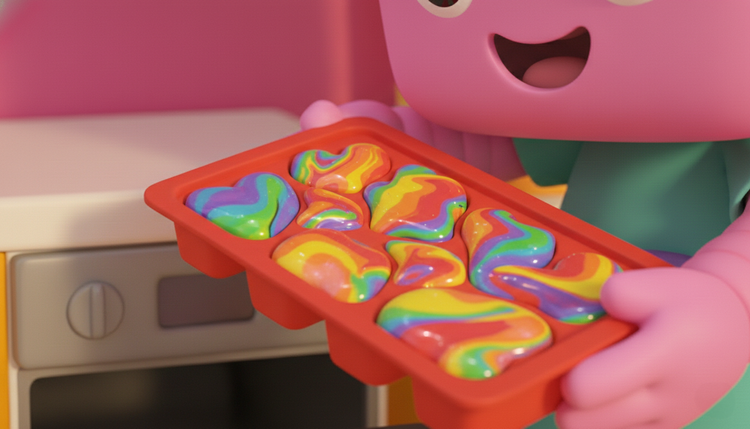
- For a marbled look: layer two colors instead of mixing.
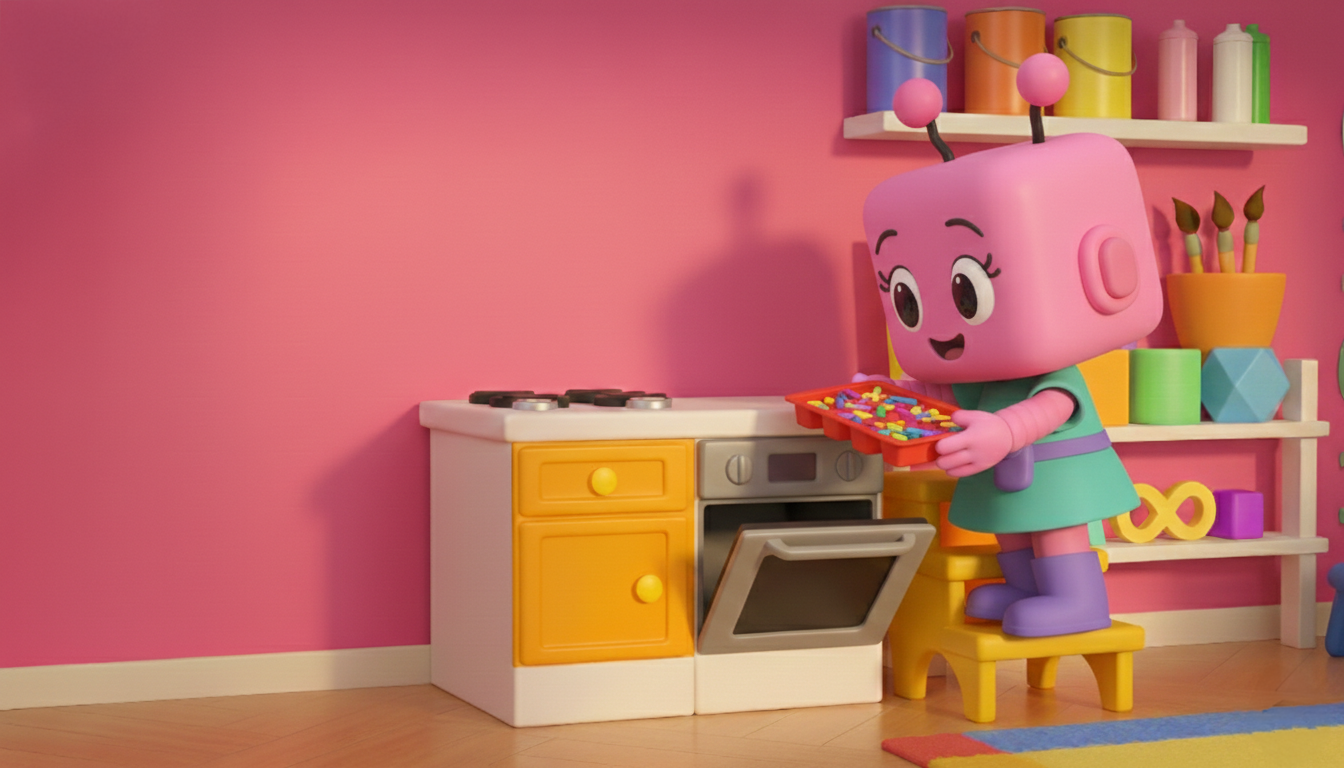
3 Melt (Adult Step)
Preheat oven to ~250°F (120°C). Bake for 10–15 minutes until fully melted. Ovens vary—keep an eye on it.
- Ventilate the kitchen (wax smell can be strong).
- Do not put in the oven with paper wrappers on.
4 Cool & Pop Out
Remove tray carefully. Let molds cool on the counter, then chill in the fridge 10–20 minutes for easy release.
- When cool, bend the silicone to pop crayons out.
- If crayons feel soft, chill longer before removing.
5 Label & Store
Store in a jar or pencil box. Bonus fun: name your new colors.
- “Giggle Grape”
- “Robot Raspberry”
- “Queeky Sunshine”
Matching Printable
Click Print / Save as PDF above. In the print dialog choose Save as PDF. (This print view hides everything except the sheet below.)
Steps (quick version)
- Peel wrappers + break crayons into small bits.
- Fill silicone mold (on a baking sheet).
- Melt at ~250°F (120°C) for 10–15 minutes (adult step).
- Cool, then fridge 10–20 minutes.
- Pop out + store + name your colors!